Fabric-covered mini composition books tutorial

I created templates from cardstock to make it easier to cut these out fast using a rotary cutter. The measurements I include here will fit a 50-sheet mini composition book that is 4.5 inches by 3.25 inches. If your book is a different size, simply open it out and measure, adding 1/4 inch seam allowances and a tiny bit extra top to bottom, and about an 1/8 of an inch side to side to accommodate closing the book.
For this size, my main piece is 5 1/16 inches by 7 1/4 inches. I cut one for the cover and one for the lining.

For the pockets that will hold the front and back covers of the book, I cut 2 on the fold 5 1/16 inches by 2 1/2 inches. The fold goes along the long edge.

The final piece is the snap tab. It measures 2 inches by 1 1/4 inches. This is also cut on the fold, and I cut just one.

This is one of the pockets cut on the fold.

The tab, cut on the fold.

You'll notice I cut the main piece out of cute fabric and out of white. The white will be the lining and really won't show. You can cut both layers from your nice fabric, but I often cut it from a scrap of plain fabric to save the good stuff or because I'm using up tiny scraps and there simply is no more of the good stuff. So here's all my pieces: cover, lining, 2 pockets, and the snap tab.

I begin by folding the tab in half, right sides together, lengthwise.

I sew up the length of the tab using about a 1/4 inch seam allowance. backstitch at beginning and end of the seam.

Here's what that looks like.

I separate the seam allowance and squash the tube so that the seam goes down the middle and iron it that way.

I sew across one end of the tube, remembering to backstitch at start and finish.

Here's what that looks like.

I trim the corners off.

This is literally the trickiest part of the whole project - turning the tab inside out. I pull the sides of the tube apart slightly, squash the bottom in a little, and use a chopstick to help me turn it.

I gently push out the corners.

And press. There! I'm done with the hardest part. The rest is easy!

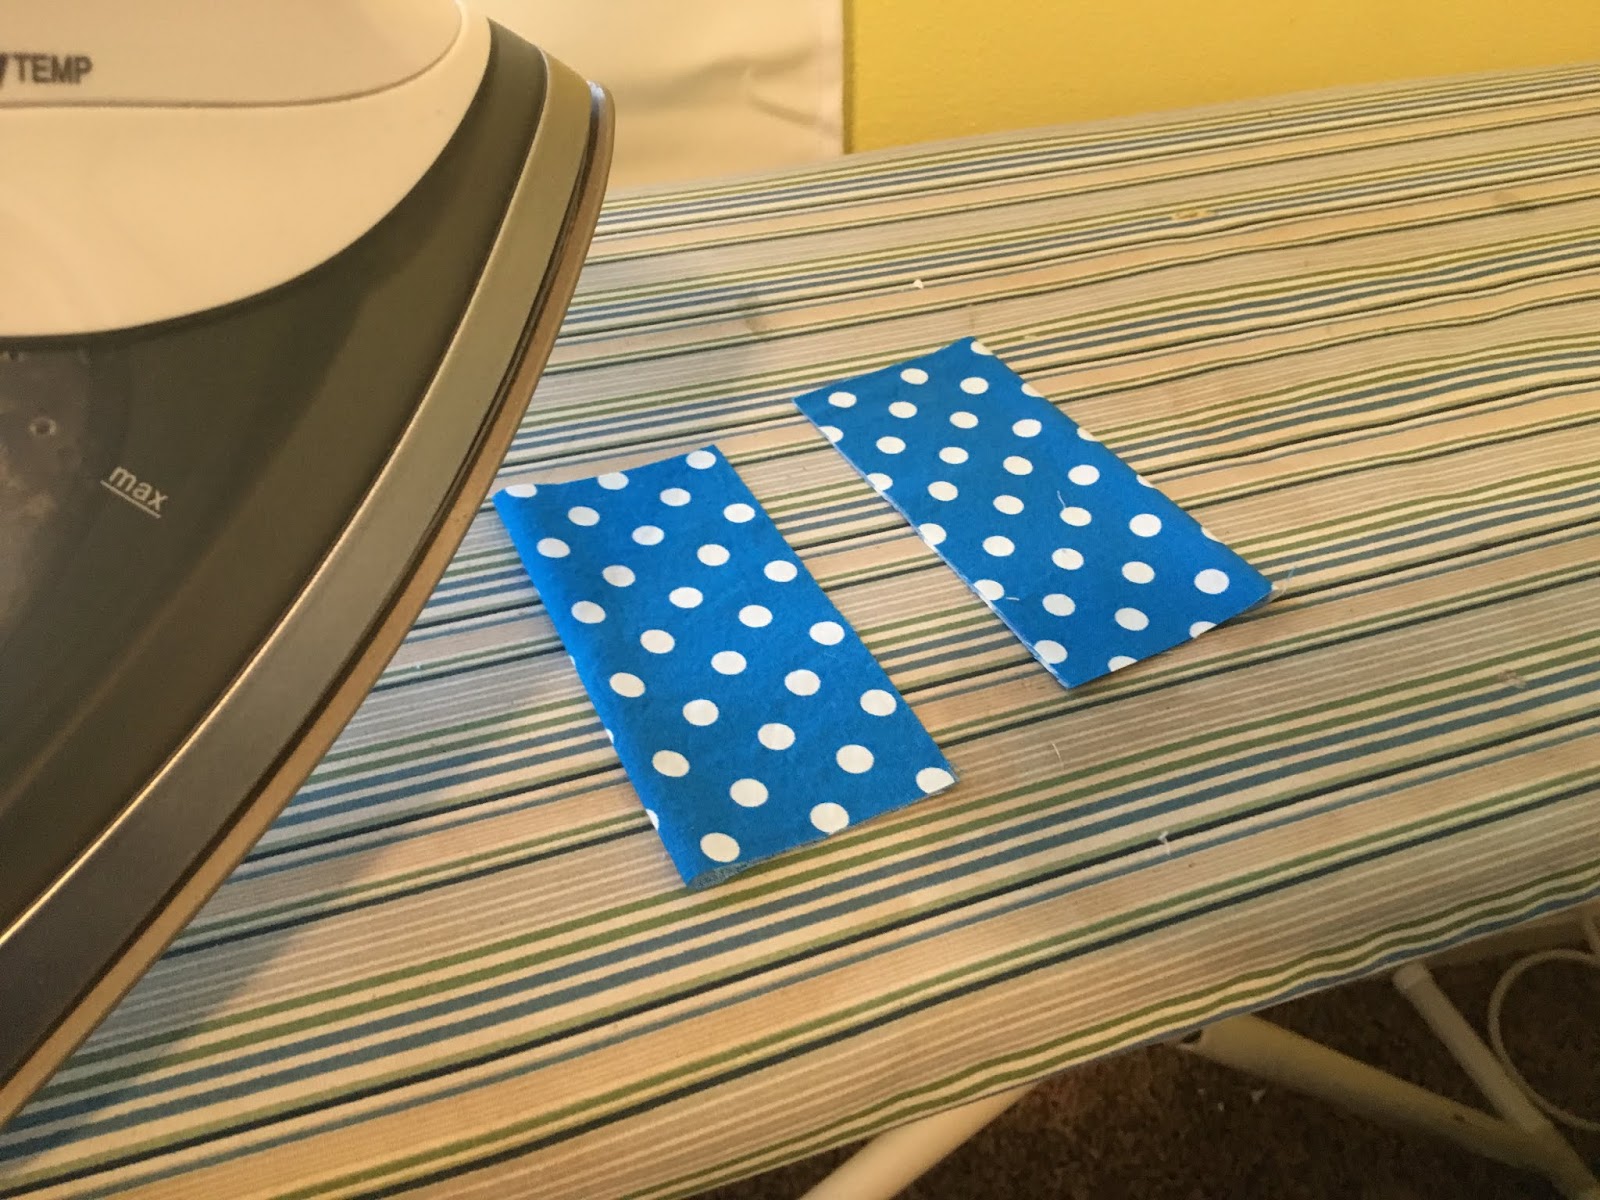
While I'm using the iron, I go ahead and iron the pockets in half, the same way I cut them on the fold.
Now I'm ready to assemble! I place the cover down on the table, face up, right side up, just how I want it to be on my notebook. I pay attention to the design of the fabric when I'm cutting the cover out, choosing which part of the design I want to "frame" on the front cover. In this case, the 3 kitties on the right will be framed. On the left side, I pin the snap tab, seam side up, raw edges matched up to the edge of the cover, mid way down.

Over top of that, I place the pockets, raw edges lined up with the edge of the cover and folded sides toward the middle. It's important to accurately match up the corners.

Over all of that, I line up the lining, matching corners as accurately as possible. I hold this all together with a pin in each corner. You may want more pins.

I have placed a pin to demonstrate where I start sewing. I start on the bottom edge right next to where the pocket starts.

I start here, backstitch to secure the seam, and then sew almost all the way around, using a careful 1/4 inch seam allowance. Accuracy is important if you want the book to fit.

I pivot when I get to 1/4 inch away from each corner by putting the needle down in the fabric, lifting the presser foot, turning the fabric, and lowering the foot to continue the seam on the next side.


I stop right where the pocket ends (where I have placed the pin in this picture) to leave an opening so I can turn it all right side out.

Here is what that looks like.

I trim the corners diagonally so they are not so bulky when turned right side out. I also trim a bit of the seam allowance from the sides. I don't trim the seam allowance along the top and bottom and there's a reason for that.

Now I pull the layers apart at the opening.

And turn the thing right side out by shoving everything through the hole.

I use a chopstick to gently push out the corners...

...so they're nice and pretty like this.

Here's what it should look like.

I fiddle with the opening until I get the edges to lay nicely together. This step is the reason I don't trim seam allowances along the top and bottom. It is really hard to get the edges to line up nicely if you've cut off the seam allowances.

Then I press the whole thing, making sure the edges are all pushed out nicely.

You can close the opening by handstitching if you don't want stitches to show on the front, or you could just leave the opening open. I don't really mind a few stitches showing, and I like to close it up fast, so I sew along the bottom edge from pocket to pocket on the machine. Make sure you don't sew over the pockets!

This is what the stitching looks like on the outside of the cover. Not a big deal if you ask me.

Now I go ahead and insert the covers of the composition book!

Gently bending both covers back, pushing them into the pockets, and then closing the book works best for me.

Once my book is all situated inside the cover, it's time to put in the snaps. These are the things I need. I use Kam Snaps, which you can buy on amazon for pretty cheap. I bought a starter set which included all the necessary tools and 500 snap sets for about $30. I bought them to use on clothes, but I didn't love them for that, so now I have 500 snaps I can use on mini composition books! Yay!

I need 2 pronged pieces and the 2 connecting pieces. I chose white for this book, but there are sooooo many fun colors to choose from!

I decide where I want the snap to be centered and poke through the tab and into the front cover with my awl. I don't push too hard, just enough to get a grip into the cover.
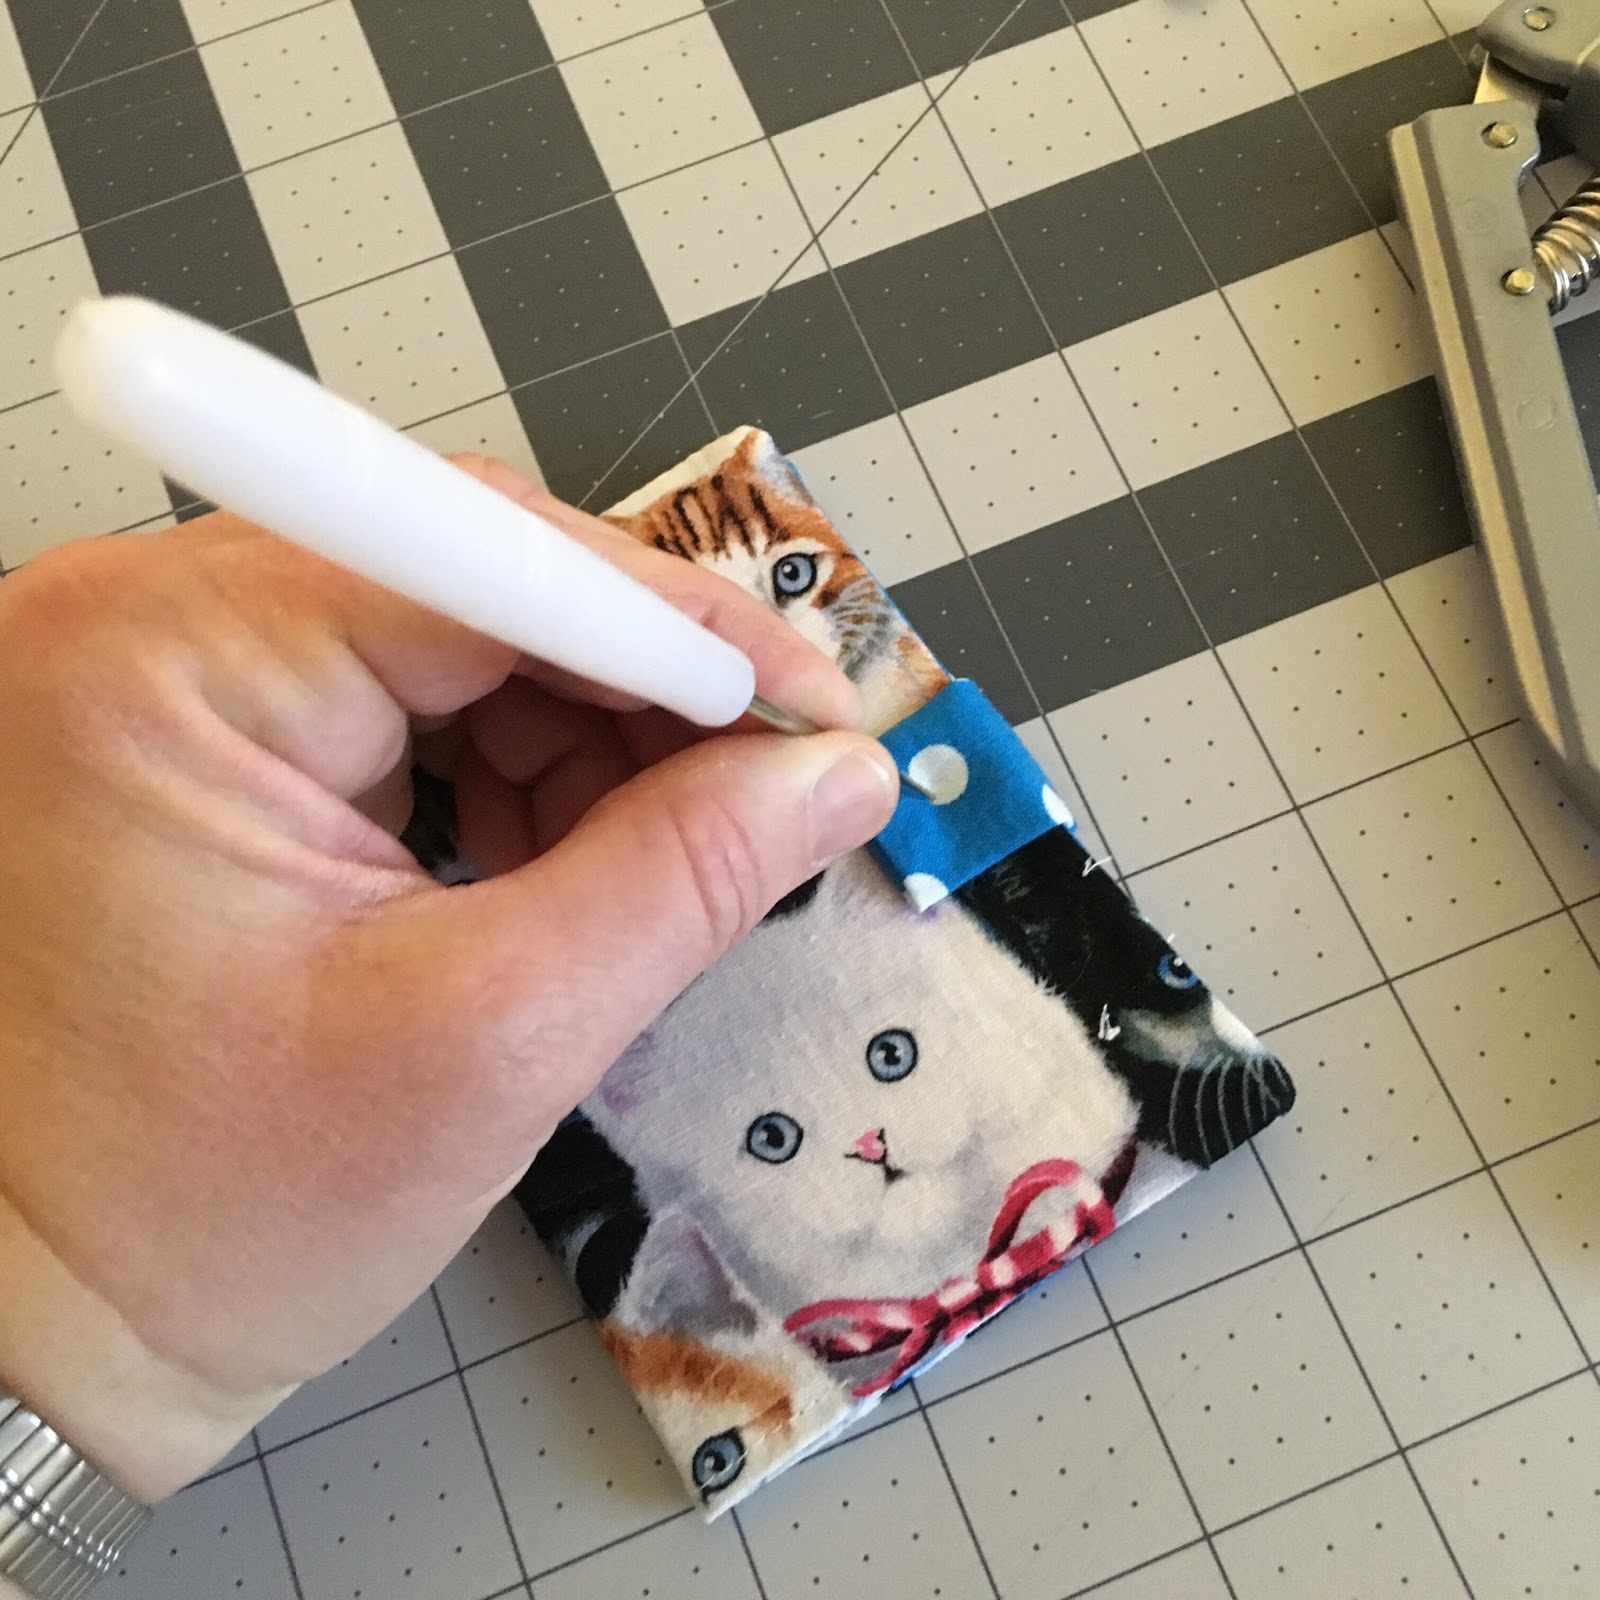
I push the tab up along the awl so that I can see where I am poking into the cover.

I poke through at that spot through all layers. Adding the snap this way does make the cover permanent. I can't take it off the book after this. I tried just putting the snap through the cover and lining layers and not going through the paper book cover, so that I could make the cover removable, but I didn't like it that way. The paper really stabilizes the snap and holds everything in place.

I insert the prong through the inside.

I fit the snap onto the prong on the outside.

I press the parts together using my cam snap pliers.

I repeat the process with the other half of the snap on the snap tab, poking the prong through from the outside.

fit the snap socket over the prong on the inside of the tab,

and press with my pliers.

The snap is fully installed now.

All done! Wasn't that fun!

I've gotten it down to about 10 minutes per book, start to finish. Watch out, or you too may become addicted. Don't say I didn't warn you.

You are a genius! Very detailed easy to follow instructions. Thank you!
ReplyDelete